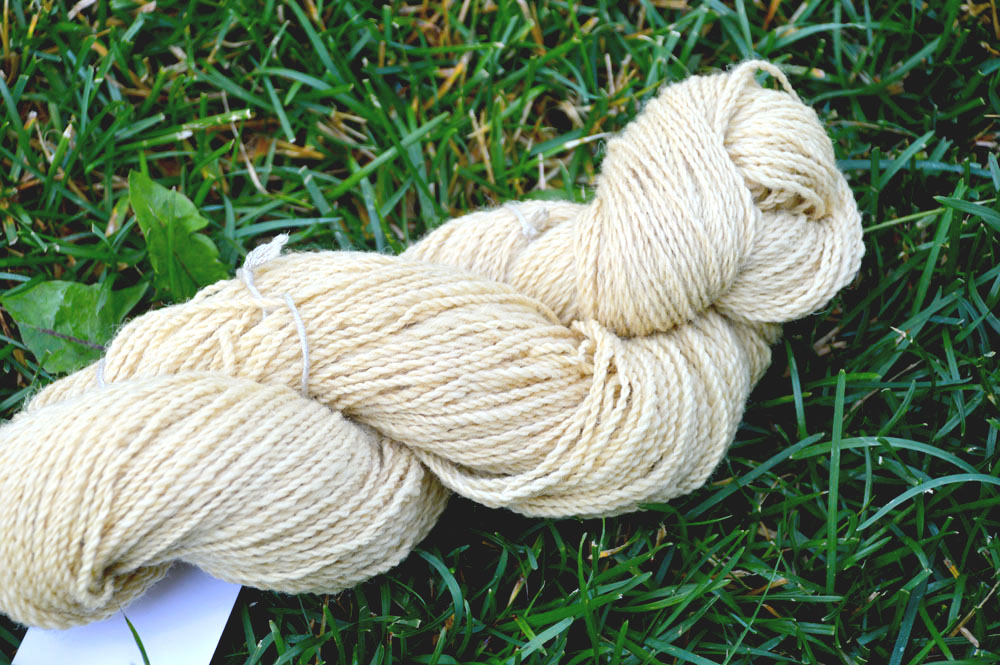
Last year, in the summer of 2017, I took my first foray into natural dyeing. I like the idea of natural dyeing – scrounging for stuff in my environment and using that to transform my wool and yarn into something different and unique is especially appealing, although the idea of using plant (or bug!) based dyes that I can’t necessarily find in my back yard is also an attractive thought. There’s something about natural colours that I find particularly beautiful – even the brightest reds or darkest greys have an earthiness to them that shines through.
I’m going to be using this series of blog posts to detail my adventures in natural dyeing – successes and failures. I hope to share in detail with you what I’ve done, my thoughts, outcomes, and what I learned and what I could do better to achieve the intended colour. So I hope you’ll follow along, and rejoice in the successes, but more importantly learn with me from the failures, because that’s the only way we really get to success.
This series will be an absolute primer as I learn just what the heck I’m doing. I’ll be explaining terms, discussing resources I’ve found particularly helpful, and sharing my recipes and pictures of skeins I’ve dyed.
My first experiment in natural dyeing last year happened in early summer. I raided a friend’s lilac tree and grabbed flowers, leaves and stems. I had pre-mondanted my skeins using alum, and used about a 1:2 ratio of plant material to fibre. Honestly, I didn’t keep great notes (something I’ve started doing in earnest this year), but the result was a light khaki on some 2-ply hand spun Cheviot I had worked on earlier in the year. I was thrilled, really, that anything happened at all, and it certainly ignited my interest to further explore natural dyeing.
Despite my lacklustre notes, I do remember what I did, mostly because it was my only experiment until this week.
Recipe
15% WOF (weight of fibre) of alum
1:2 ratio of dyestuff to wool
282 g of handspun Cheviot 2-ply yarn
I had pre-mordanted the skeins about a week prior. I had 282 grams of fibre, so using the 15% WOF ratio I used 42g of alum. 15% WOF for the alum left a “sticky” feeling on the yarn, meaning that the yarn did not take up all the alum I added to the water, and instead had left some desposited on the yarn rather than be taken up into it. It’s an unpleasant feeling, so for subsequent dyeing I reduced the amount to 10% WOF.
The formula is:
- WOF x 0.10 = amount of alum to use
So, using this formula, if I was pre-mordanting these yarns again, the calculation would be: 282 x 0.10 = 28.2 g of alum. I round up or down to the closest whole gram, so I would have ended up using 28g of alum.
Pre-mordanting
Mordanting is important when it comes to natural dyeing – in a nutshell, it improves light- and washfastness of the colours you’re about add to your yarn. I use alum, as it’s readily available at natural dye suppliers, is relatively safe for home use, and has little documented impact on water systems and the environment.
The alum binds to the yarn, which then in turns helps bind the dye to the yarn in the dye pot. Without that binding agent, plant dyes especially will loose colour over time (some at an increased speed than others). You can use iron, copper, along with tannins as a mordant as well. Some of these can be harmful to you and the environment, so proper handling is extremely important.
You can mordant and dye at the same time, however for practical reasons (not using the kitchen stove for hours at a time) I chose to pre-mordant. All that means is you do this step prior to dyeing. Pre-mordanting can be done weeks in advance of dyeing. I like doing a big round of mordanting, then I put the yarn aside and have some skeins ready to go for dyeing as the mood strikes.
I’ve also read anecdotal evidence that suggests dyes will bind better if the dyeing is done after the mordanting process. I have absolutely no idea how true this is, but since it went with my work flow better that’s the way I decided to do it.
Dyeing
I took my dyestuff and put it in a big enamel pot on the stove. I set it to simmer at about 75-80C for an hour. After that was completed I removed the plant materials and popped my skeins in, letting them simmer at the same temperature for about 90 mins. I removed the skeins and rinsed, and let dry in the shade outside.
What I got was the colour you see in the picture above – a light yellowish khaki.
What I’d do differently
I just kind of did whatever for that first run, and I got a result! I had been aiming for a khaki-ish colour. I had read that the blooms only will give you something greener and the stems and leaves of lilac would give you something in the yellower/brownish range.
Crossposted from Dominion Fleece & Fibre
