This tutorial, along with 18 others and five patterns can now be found in the CableStar Vol 1: Galway Bay eBook
The idea of seaming sends chills down my spine. Especially for a border of a shawl because to me (and my poor skills at said seeming) really make the finished piece look not anywhere near as polished as it should. I hate working forever to get a piece just perfect, only to have the seaming be done, riddled with errors, making the whole thing look messy.
Drives me absolutely bonkers.
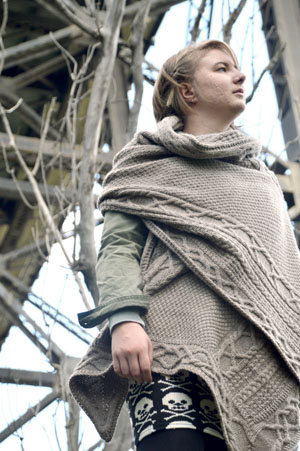
So for my pattern Inis Oírr, released today, I finagled an edge join on the wrong side. I found that this allowed for a more seamless border with all the cabling and textured stitches I was utilizing. There’s a lot of slipping stitches, passing other stitches over, and picking up stitches (not necessarily in that order). I even confused myself while I was trying to figure it out, but the final result is exactly what I was looking for.
I don’t assume that I made this seaming method up by any means. I tried a few of the standard knitting-on-a-border techniques that you can find with a quick google search, but nothing quite fit the look of what I was trying to achieve. Throw that in with the fact my pattern uses cabled mitred corners, so I needed something that would work for the corners as well as the straight parts.
The result is this technique, and I thought it’d be best for any future knitters of the pattern to have some detailed instructions to work off of rather than text alone. So, without further ado, here’s a little photo tutorial of how to work the stitches to create a seamless piece (which works really, really well for knitting borders onto big things).
Step 1
On the wrong side of your piece, knit to last stitch of the border.
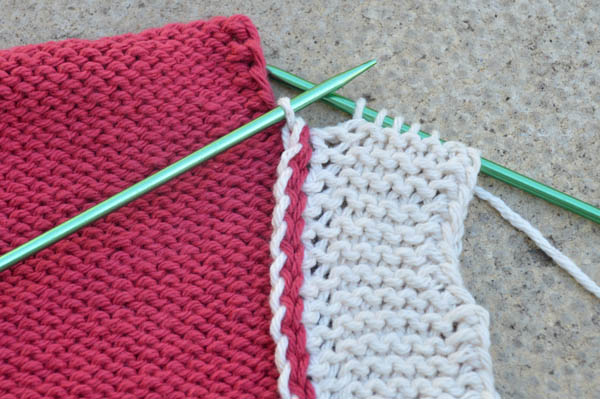
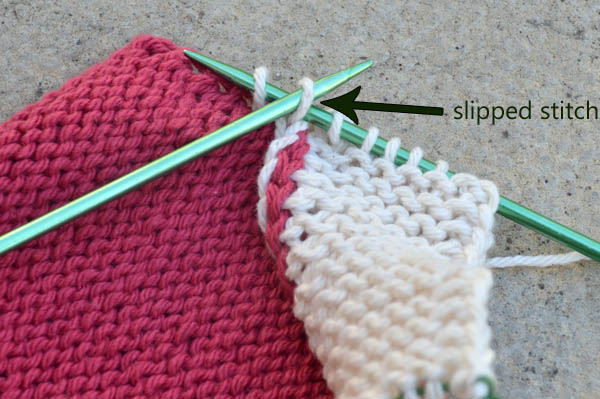
Step 2
Slip the last stitch onto your working needle
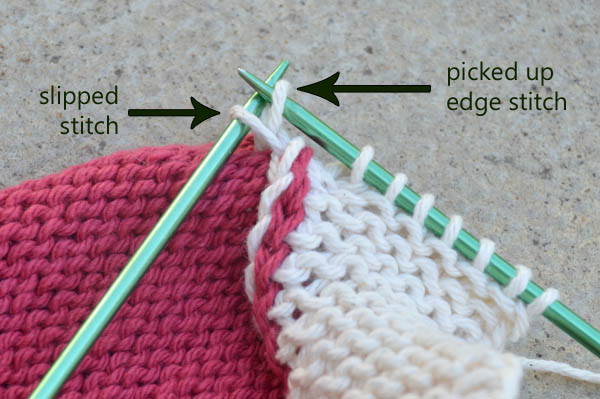
Step 3

Pick up a stitch with your working yarn through the slipped stitch on the main body. This pick up is done through the wrong side, which seems counter-intuitive, but trust me on this one.
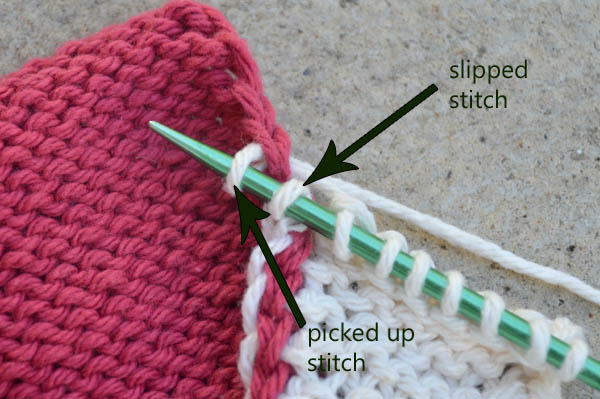
Step 4
That stitch that you slipped before the picked up stitch? Now pass that stitch over the stitch you just created.
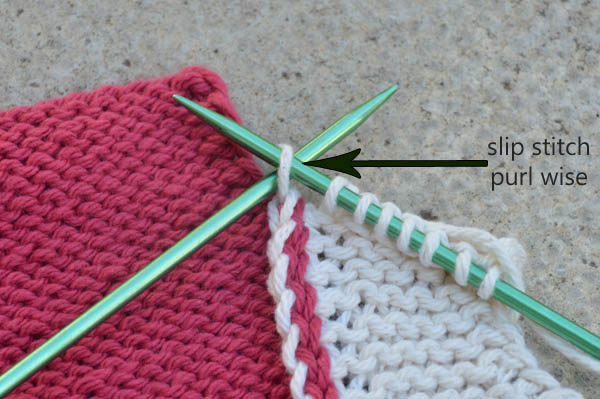
Step 5
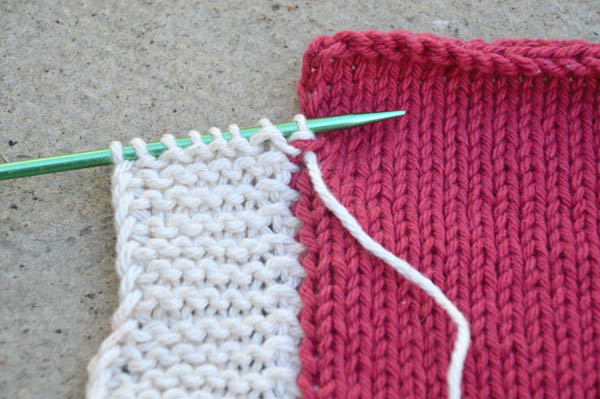
Now turn your work, and slip the first stitch purl-wise onto your working needle. This will give you a flatter join around the edge. Continue working your border in your established pattern.
That’s it, you’re done! A seamless wrong-side knitted on border that will be much quicker than seaming your whole piece together.
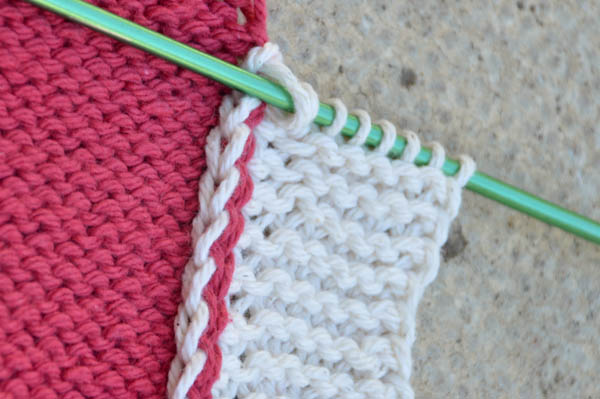
Here’s a bit closer up shot of how the join looks on the back. I used the different colours to highlight the join specifically, but when using the same colour, it’s almost impossible to see:
Some Extra Notes
I worked this join specifically through a piece that had the first stitch slipped every row on the main body. This not only makes a much neater edge on the body of your piece, but also makes it easier to pick up your stitches. I picked up every slipped stitch (which is two rows per on the main body), which allowed for no bunching of the edge.
For the cast on and cast off edges pick up every second stitch, not every stitch, otherwise you’ll get a whole lot of bunching that blocking might not be able to get rid of.
A good trick to create a truly seamless piece is to provisionally cast on your border. Then once you’ve knit around the whole piece, you can use the kitchener stitch to seam together your beginning and end.